Introduction to Spider Plants
Spider plants, scientifically known as Chlorophytum comosum, are an attractive and popular choice among houseplants, celebrated for their striking appearance and low maintenance requirements. Native to various regions of Africa, they thrive in a range of environments and have become a favored option for indoor gardening globally. The spider plant features long, arching green leaves, often variegated with white or yellow stripes, which gives it a distinctive appearance that brightens any space.
Common varieties of spider plants include the standard green leaf variant and the more visually striking Chlorophytum comosum variegatum, known for its creamy white and green striped leaves. Another popular variety is the ‘Bonnie’, which has curled, spiral leaves that add a unique twist to this plant’s aesthetics. Spider plants are also celebrated for producing offshoots, or “pups,” which can be easily propagated to create new plants, enhancing their value as both ornamental and functional additions to the home.
One of the key reasons spider plants are regarded as excellent houseplants is their air-purifying qualities. They are known to effectively remove common indoor toxins such as formaldehyde and xylene, which can contribute to improved indoor air quality. Furthermore, spider plants are incredibly easy to care for, making them an ideal option for both novice and experienced plant enthusiasts. They adapt well to various light conditions, tolerate occasional neglect in watering, and are resilient against a range of pests, further enhancing their appeal as a household companion. This combination of beauty, resilience, and health benefits cements the spider plant’s reputation as a longstanding favorite among indoor gardeners.
Choosing the Right Pot and Soil
Selecting the appropriate pot for your spider plant is crucial for its health and growth. The size of the pot should be large enough to accommodate the root system without being excessively spacious. An ideal pot for spider plants generally has a diameter of about 6 to 8 inches for young plants, while mature spider plants may require larger pots. A proper-sized pot helps prevent overwatering and associated root rot by ensuring that the plant does not remain in overly moist soil. Additionally, it is imperative to select a container with adequate drainage holes at the bottom, as this will enable excess water to escape and maintain optimal soil moisture levels.
When it comes to soil, spider plants thrive in a well-draining potting mix. A blend that includes peat moss, perlite, and compost is particularly beneficial. This mixture allows for adequate aeration, which is essential for the root system’s health. It is advisable to avoid using heavy garden soil, as it can retain too much moisture and lead to detrimental conditions for the plant. To prepare an optimal potting mix, combine two parts potting soil with one part perlite or coarse sand to enhance drainage. This will create a suitable environment where spider plants can flourish.
In summary, the combination of the right pot size and soil type is essential for sustaining healthy spider plants. By ensuring that your chosen pot has drainage features and utilizing a high-quality, well-draining soil mix, you can create a nurturing environment that promotes growth and vitality in your plant. Careful attention to these details will set the foundation for successful spider plant propagation and overall plant health.
Step 2: Providing Ideal Lighting Conditions
Spider plants, scientifically known as Chlorophytum comosum, flourish best in environments that provide bright, indirect light. These resilient houseplants can adapt to varying light conditions, but achieving optimal growth necessitates a careful balance. Placing your spider plant in a spot where it can receive sufficient light, yet be shielded from harsh, direct sunlight, is essential for its health.
Bright, indirect light is characterized by sunlight that is filtered or reflected rather than direct. Typical placements include near east or west-facing windows, where the intensity of the sun is not overwhelming. In contrast, placing them in south-facing windows may expose them to excessive light, which can lead to leaf scorch and discoloration. If you observe that your plant’s leaves are becoming yellow or brown at the tips, it may be an indication that it is receiving too much direct sunlight.
For those with limited natural light, spider plants can also thrive under fluorescent lights. This makes them an excellent choice for offices or rooms with minimal window exposure. If using artificial lighting, aim for a light that mimics daylight, and place the plant approximately 12 to 24 inches below the lighting source to ensure good energy absorption.
When positioning your spider plant, consider its growth pattern. As it matures, it sends out long, arching leaves that may need space to expand. Adjust its location periodically; moving it closer to the light source during shorter days can support growth. In conclusion, the right lighting conditions are vital for maintaining the vitality of your spider plant. A thoughtful approach will ensure it thrives and continues to produce its distinctive foliage and charming plantlets.
Proper Watering Techniques
Watering is a critical component of spider plant care, as it directly impacts the plant’s growth and overall health. Spider plants thrive in evenly moistened soil, which means it’s essential to establish a balanced watering routine. Generally, watering every 1-2 weeks is recommended, but this can vary depending on environmental conditions such as humidity and temperature.
When watering spider plants, it’s beneficial to use room temperature water rather than cold water, as this can help prevent root shock. Additionally, ensure that the pot has proper drainage to prevent water accumulation at the bottom. Employing a method called bottom watering, where you place the pot in a tray filled with water for around 15 minutes, can also be effective, allowing the plant to absorb moisture from the bottom up, which mimics its natural environment.
It is crucial to monitor the soil’s moisture to maintain the health of your spider plant. Signs of underwatering typically include browning leaf tips and dry, crispy leaves. Conversely, overwatering manifests as wilting, yellowing leaves, and a musty or rotten smell from the soil. To remedy these conditions, it is advisable to adjust your watering schedule and conduct a thorough inspection of the roots if overwatering is suspected. In cases of waterlogged soil, allow the substrate to dry out completely before resuming normal watering habits.
Regularly checking the top inch of the soil before watering can also help assess whether the plant needs moisture. A simple finger test or using a moisture meter can yield reliable results. Striking the right balance in the watering routine is key to fostering vibrant, lush growth in your spider plants and ensuring their long-term vitality.
Fertilizing Your Spider Plant
Fertilizing your spider plant is an essential aspect of its care that promotes healthy growth and vibrant foliage. By providing the right nutrients, you enhance the plant’s ability to thrive, resulting in lush, green leaves that are characteristic of a well-cared-for spider plant. Fertilization is important as it replenishes vital minerals that may be lacking in the soil, especially after a period of time or repeated watering.
When choosing a fertilizer for your spider plant, it is advisable to opt for a balanced, water-soluble plant food with an N-P-K ratio of 10-10-10 or similar. This indicates that the fertilizer contains equal parts nitrogen, phosphorus, and potassium, fostering overall plant health and supporting robust growth. Organic options, such as compost tea or fish emulsion, can also be effective in offering a slow release of nutrients, making them ideal for those who prefer natural gardening methods.
A fertilization schedule should typically start in early spring, as the spider plant emerges from dormancy. It is generally recommended to fertilize the plant every four to six weeks during the growing season, which extends from early spring to late summer. Reducing or halting fertilization during the fall and winter months allows the plant to rest, as it will require fewer nutrients during this period.
In conclusion, maintaining a proper fertilization routine is pivotal for your spider plant’s overall health. By selecting the right type of fertilizer and adhering to a consistent schedule, you will ensure that your spider plant receives adequate nutrition to flourish throughout the year.
Propagation Techniques
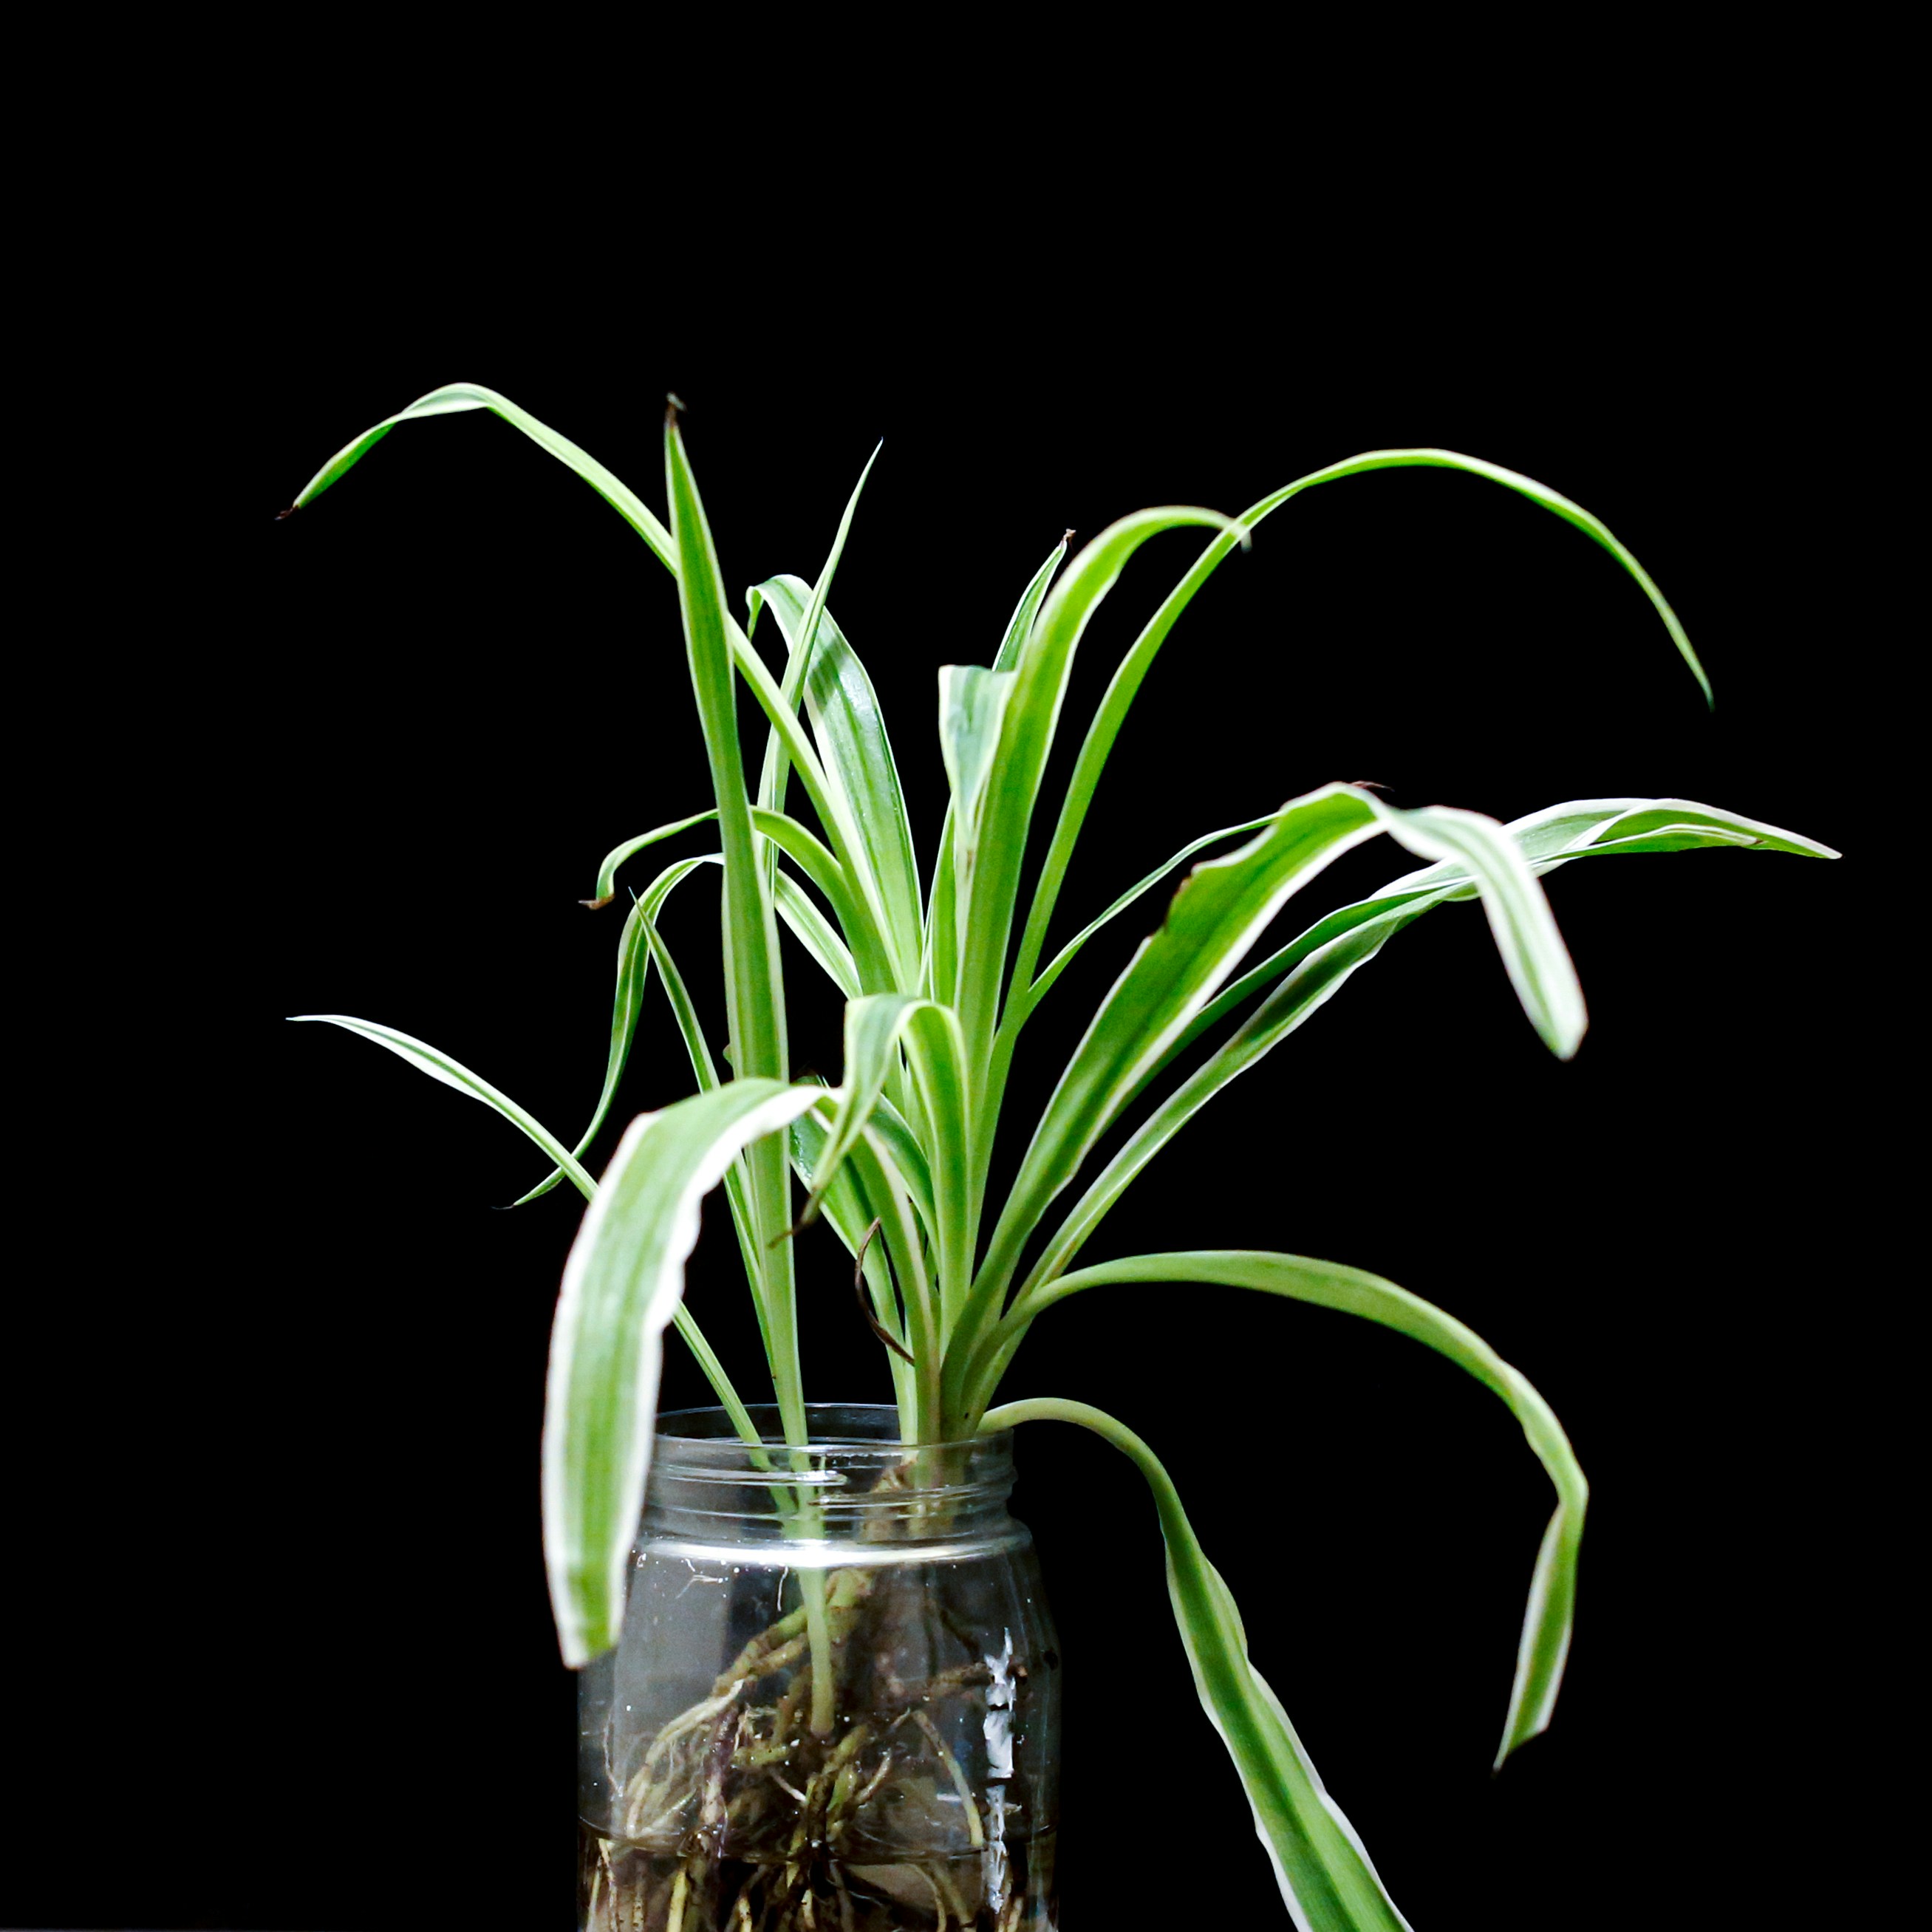
Spider plants (Chlorophytum comosum) are known for their ability to produce offsets, commonly referred to as “pups.” These pups are small plantlets that emerge from the mother plant and can be easily propagated to create new plants. There are two primary methods of propagating spider plants: through offsets and via division. Here, we will outline the step-by-step instructions for both techniques to ensure successful propagation.
Method 1: Propagating through Offsets
1. Identify the pups: Look for small, green shoots that have developed roots at the end. These pups should be at least a few inches long.
2. Prepare your materials: Gather small pots filled with well-draining potting mix. Ensure the pots have adequate drainage holes.
3. Remove the pups: Gently twist or cut the pup from the mother plant, keeping the roots intact to minimize damage.
4. Plant the pups: Create a small hole in the potting mix, place the pup inside, and cover the roots with soil. Firmly press the soil around the base to secure it in place.
5. Water and care: Lightly water the newly potted pup and place it in a location with indirect sunlight. Maintain consistent moisture without overwatering.
Method 2: Division
1. Remove the parent plant: Carefully take the entire spider plant out of its pot to access the root system.
2. Separate the plants: Gently pull apart the root ball, ensuring that each section contains roots and some foliage.
3. Prepare for repotting: Pot each divided section into its individual pot filled with fresh potting mix.
4. Water thoroughly: After planting, give each division a good soak to help settle the soil and encourage root establishment.
5. Provide optimal conditions: Place the new plants in a location with filtered light, maintaining humidity and warmth for the best results.
By following these propagation techniques, spider plants can thrive and multiply, creating a vibrant and lush collection. Remember to monitor the growth of the new plants and adjust care as needed to ensure their success.
Troubleshooting Common Issues
Spider plants, known for their resilient nature, can, however, encounter several common issues that affect their growth and appearance. Identifying these problems promptly is essential for maintaining the health of your plant. Some frequent concerns include pest infestations, browning leaves, and stunted growth.
Pest infestations, particularly from aphids or spider mites, can hinder the vitality of your spider plant. One effective preventive measure is to routinely inspect the foliage for signs of insects, such as webbing or discolored spots. In cases of infestation, it is advisable to isolate the affected plant and treat it with insecticidal soap or neem oil, ensuring thorough coverage of both sides of the leaves. Regular cleaning of the leaves with water can also help deter these pests.
Browning leaves are another common issue that owners may face. This condition can stem from various factors, including overexposure to direct sunlight, inconsistent watering, or low humidity levels. Spider plants prefer bright, indirect light, so repositioning them away from harsh sunlight can mitigate leaf discoloration. Maintaining a consistent watering schedule—allowing the soil to dry out between waterings—is crucial. Additionally, increasing humidity by misting the plant or placing a tray of water nearby can improve the overall health of your spider plant.
Stunted growth may arise from nutrient deficiencies, poor soil quality, or inadequate lighting conditions. To remedy this, consider repotting your spider plant into a fresh, well-draining potting mix enriched with organic matter. Ensuring that your plant receives ample indirect light will further promote healthy growth. Regularly fertilizing every few weeks during the growing season can also support its development.
Benefits of Growing Spider Plants
Spider plants, known scientifically as Chlorophytum comosum, are increasingly popular among indoor gardening enthusiasts, and for good reason. One of the most remarkable benefits of having spider plants indoors is their ability to purify the air. Studies have shown that these resilient plants can remove toxins such as formaldehyde and xylene from the air, significantly improving indoor air quality. By incorporating spider plants into your home or office space, you can create a healthier environment while also enjoying the aesthetic appeal of lush greenery.
In addition to their air-purifying qualities, spider plants are highly adaptable and can thrive in various light conditions, making them the perfect choice for both novice and seasoned plant caretakers. They can tolerate low light, fluctuating temperatures, and even occasional neglect, which speaks to their resilience. This adaptability allows individuals with different living conditions to successfully grow these plants without the constant worry of specialized care requirements.
The spider plant’s attractive arching leaves and charming spider-like offshoots contribute to its aesthetic appeal, making it an ideal decorative element for any room. Whether placed on a shelf, hung in a basket, or used as a centerpiece, spider plants can enhance any decor. Furthermore, their maintenance is minimal; they require infrequent watering and can adapt to a range of pot sizes.
Not only do spider plants offer ecological benefits and enhance the beauty of your space, but they also contribute to a sense of well-being. Studies indicate that indoor plants can reduce stress levels and boost mood, making the spider plant an excellent addition to your indoor garden.
Conclusion and Final Tips
In conclusion, caring for a spider plant is a rewarding endeavor that requires minimal effort and knowledge. Throughout this guide, we have explored essential aspects of spider plant care, including the right growing conditions, watering needs, and propagation techniques. By ensuring your spider plant receives adequate sunlight, moderate watering, and well-draining soil, you can promote vibrant growth and ensure its longevity.
Propagation, one of the most delightful aspects of growing spider plants, allows you to share your greenery with friends or expand your indoor garden. From creating new offsets to rooting them in water or soil, the techniques we discussed make the process straightforward and enjoyable. Remember to be patient as your new plant establishes itself, and observe its growing habits to know when it is ready for a new home.
As you embark on your spider plant journey, take note of the key points mentioned in this blog post: regular watering, appropriate light exposure, careful fertilization, and attentive propagation practices. Each of these elements will contribute to a healthy and thriving plant. Don’t hesitate to experiment with different care routines to find what works best for your specific environment.
We encourage you to start your own spider plant journey today. Whether you are a seasoned gardener or a novice enthusiast, the joy of watching your spider plants flourish will undoubtedly enrich your daily life. We would love to hear about your experiences, tips, and challenges. Share your stories and become part of the community that celebrates the beauty and resilience of the spider plant!